A CB radio can only work as well as the antenna system connected to it. You can have a solid radio, clean power and a good microphone, then lose range or sound rough because the antenna is not matched to the vehicle. Tuning is the short, repeatable process of checking that match and making a careful adjustment when the readings tell you it is needed.
This guide is for a normal mobile CB setup with an adjustable antenna and an external or built-in SWR meter. It does not replace the instructions for your exact antenna. It does give you a method that keeps the guesswork out: inspect the installation, measure at both ends of the band, make one small change, then measure again.
What SWR is telling you
SWR means standing wave ratio. In plain language, it is a way to see how well the radio, coax and antenna are working together at a chosen channel. When the antenna system is close to the radio's expected load, more of the signal moves toward the antenna instead of reflecting back down the coax. The ARRL's SWR explainer shows how a mismatch creates a reflected wave in the feed line.
Think of the number as a diagnostic clue, not a score to chase blindly. A reading near 1:1 is a very close match. A slightly higher reading can still be workable depending on your equipment and the part of the band you use. What matters most is a stable, sensible pattern across the channels and a reading within your radio and antenna maker's stated limit.
Get the setup ready before you measure
Measure the antenna in the same condition you plan to use it. Park outdoors, away from buildings, power lines and other vehicles if possible. Close the doors and tailgate. Keep the antenna in its normal position. A whip that is folded down, touching a rack or leaning against a structure can produce a reading that does not match normal operation.
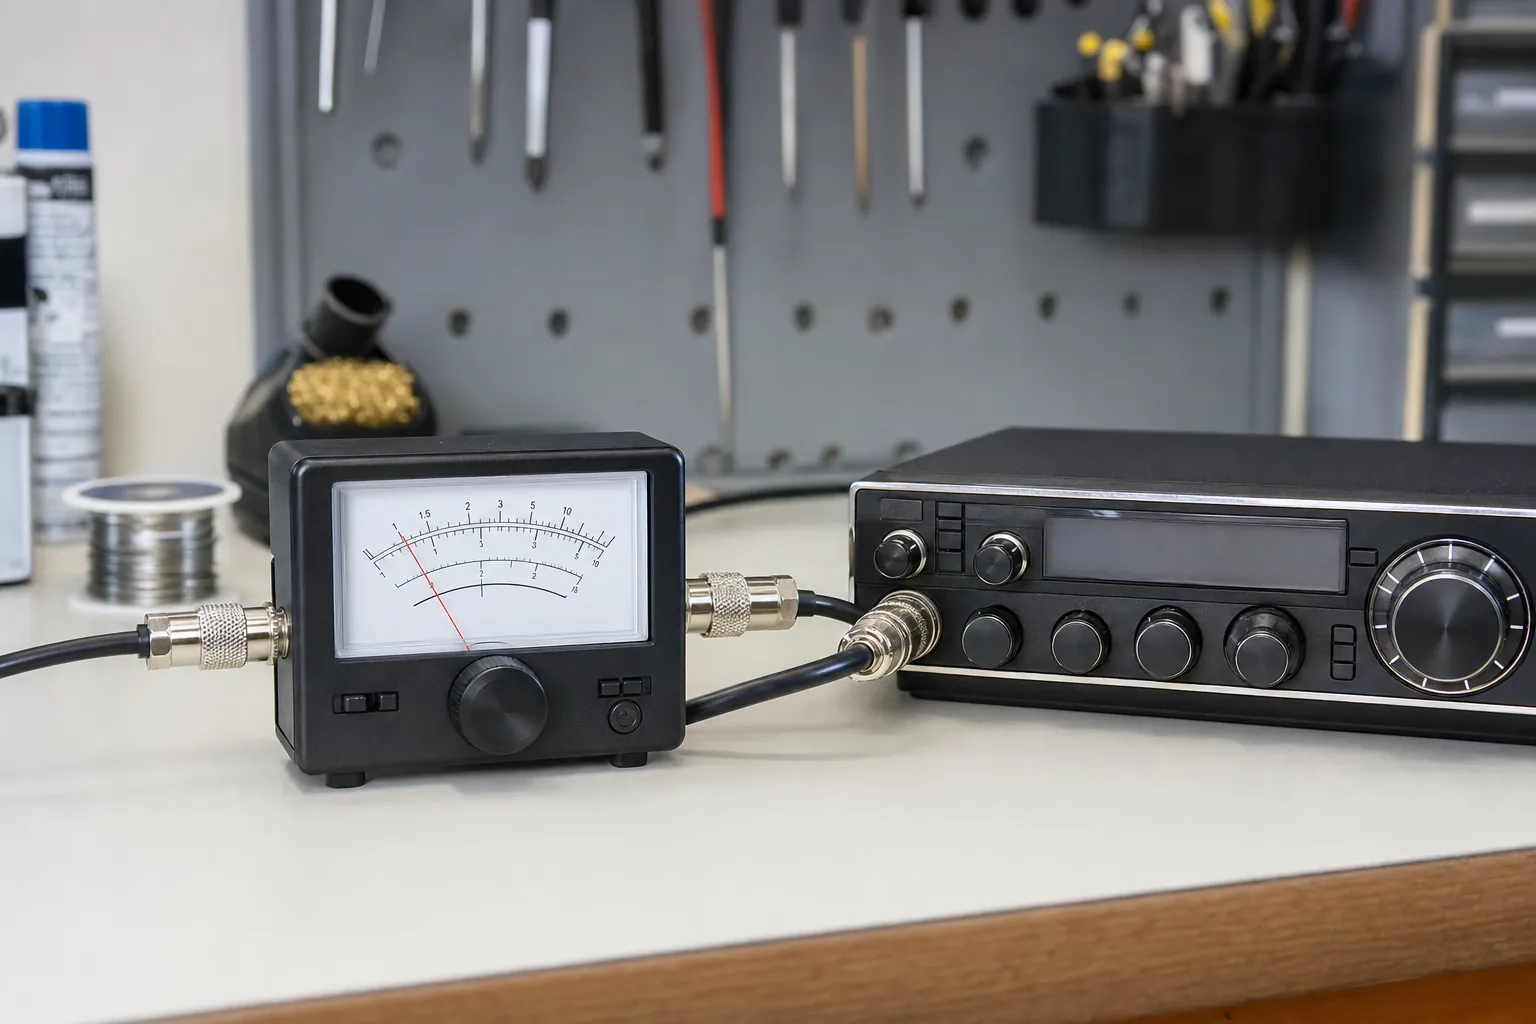
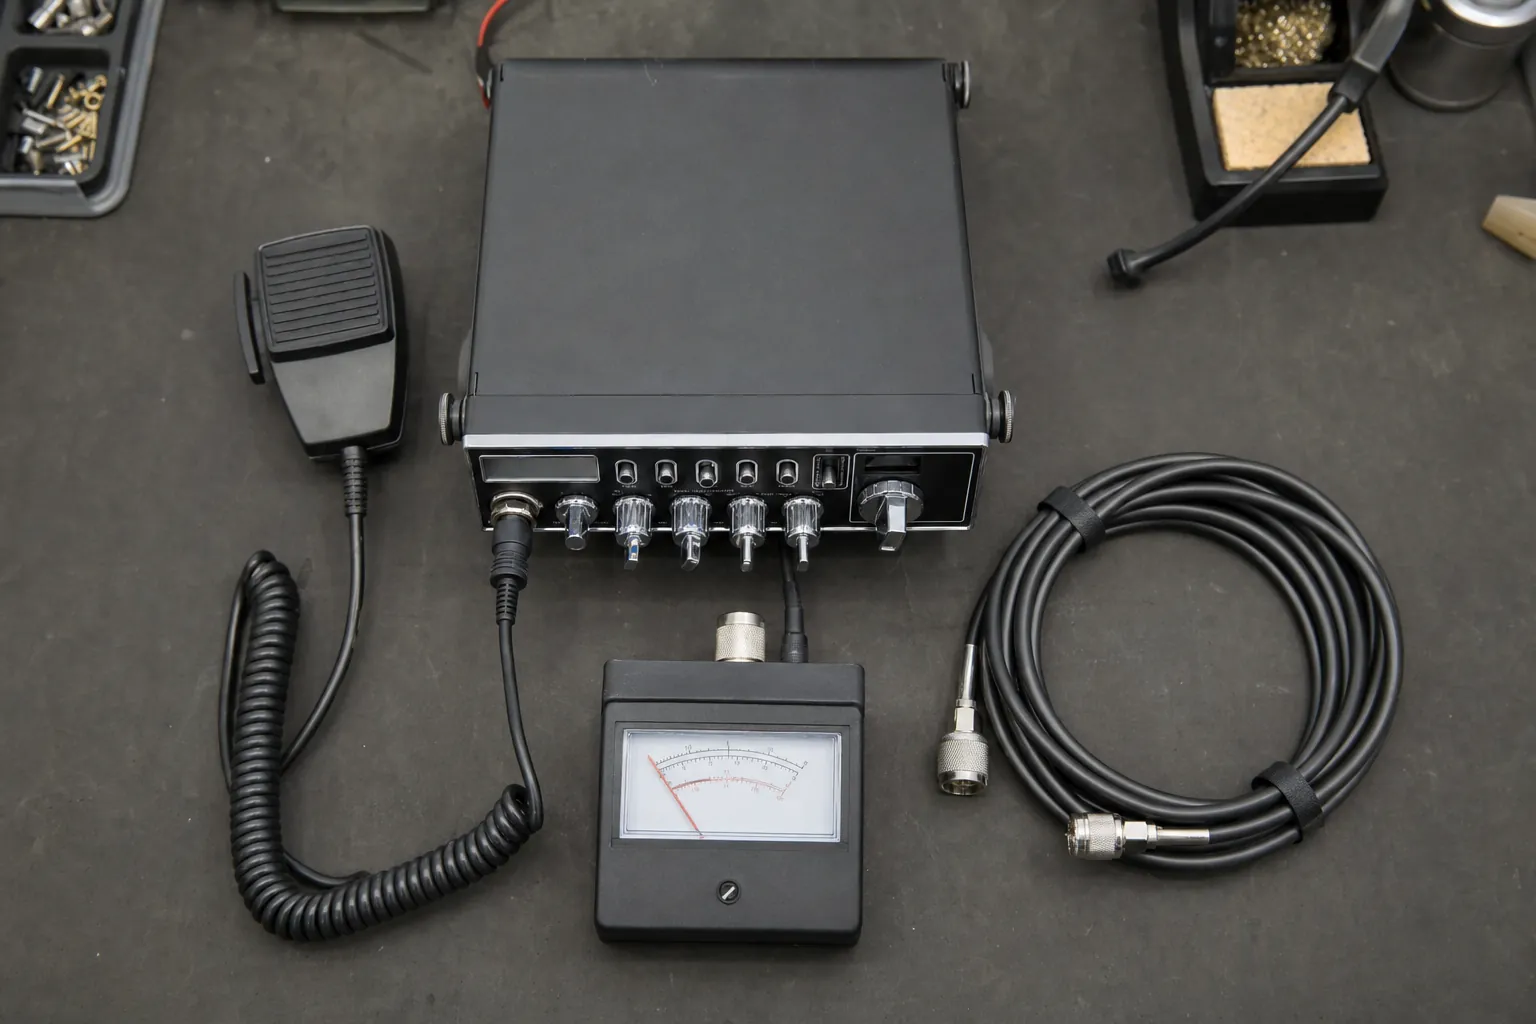
You will need a working CB radio, the antenna system installed on the vehicle, a short jumper coax if your external meter requires one, and an SWR meter that covers the CB band. Put the meter between the radio and the antenna line. The radio connects to the meter input, and the antenna coax connects to the meter output. If your radio has a built-in meter, follow that radio's own calibration procedure.
Step 1: Inspect the mount, coax and antenna first
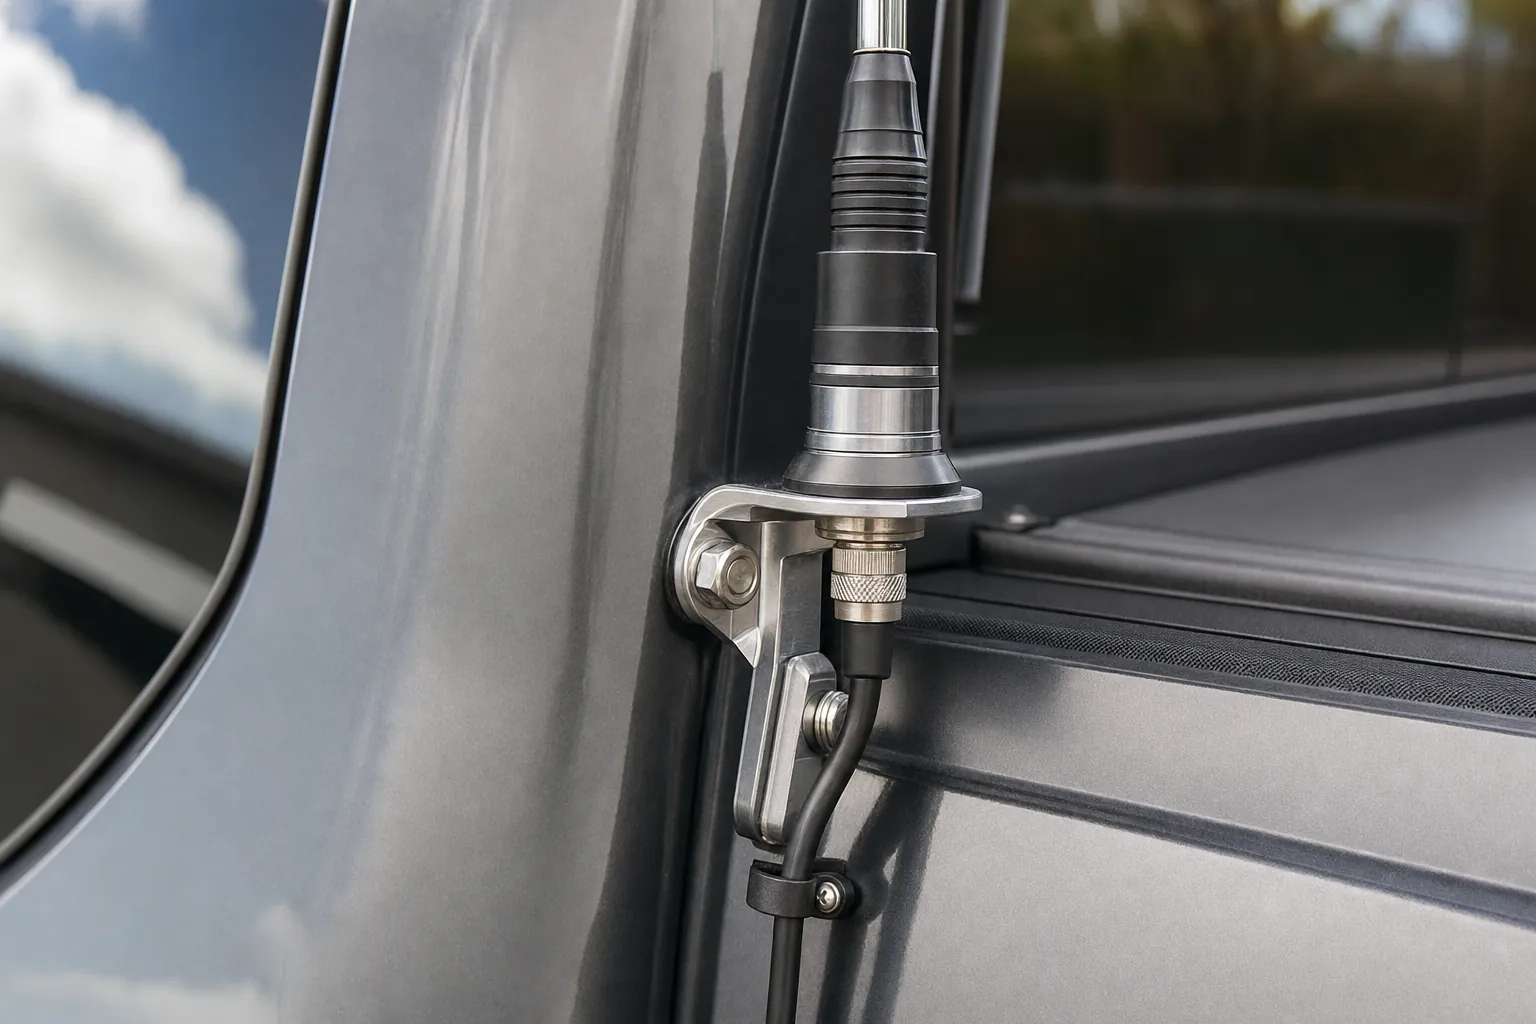
Do not start by moving the whip. A poor mount or damaged coax can create a bad reading that no amount of tuning will solve. Look for a loose stud, a pinched cable, a connector that does not seat fully, corrosion, water intrusion or a mount that is isolated from the vehicle body by paint, powder coat or plastic. The antenna needs a sound electrical installation, not just a bracket that feels tight.
On many mobile setups, the mounting point and surrounding metal are part of the antenna system. That is why a change to the mount, a new vehicle, a different rack or a moved cable can change your readings even when the antenna itself is unchanged. Check that the coax is not sharply kinked and that the center pin and outer shield are not damaged or pushed back inside the connector.
If the radio has suddenly lost range after previously working well, start here. A sudden change usually deserves an installation check before you make a permanent antenna adjustment. Our mobile antenna setup guide covers the larger placement and cable-run decisions that affect the whole system.
Step 2: Take readings on channels 1 and 40
Use the lowest and highest CB channels to see which way the mismatch leans. Channel 1 is at the low end of the band, and channel 40 is at the high end. A center channel, often 20, gives you a helpful reference point, but the relationship between 1 and 40 is what guides the first adjustment.
- Set the radio to channel 1. Use AM mode if the radio has more than one mode, turn off extra features that can affect the meter procedure, and follow the meter instructions to calibrate if it is a manual meter.
- Key the microphone briefly. Read and write down the SWR. Do not hold the mic key longer than the measurement needs.
- Repeat on channel 40. Use the same meter procedure and make a second note.
- Check a middle channel. A quick reading on channel 20 helps show whether the lowest point is sitting where you expect it.
Taking notes sounds simple, but it prevents the classic problem of changing the antenna, forgetting the original readings and moving it the wrong way on the next adjustment. The meter does not need a long conversation to give you useful information. Short, consistent checks are enough.
Keep the test repeatable
Use the same conditions for every reading. Keep the radio in the same mode, use the same power setting, and do not move the antenna or open the vehicle between channel checks. A meter reading can change when the antenna is near a metal object, a rack, a trailer or a person. That does not mean the meter is wrong. It means the antenna system is responding to its surroundings, which is exactly why the test needs a controlled setup.
Manual meters add one more detail: calibrate each time the meter instructions call for it. Usually that means switching to the calibration or forward position, keying the microphone briefly, setting the needle with the calibration control, then switching to the SWR or reflected position for the reading. Do not assume a calibration made on one channel is valid for every other channel. Check the instructions printed on your meter and repeat the process consistently.
It also helps to take two readings at the same channel before you adjust anything. If the second reading is very different from the first, do not start cutting or moving the whip. Recheck the meter connections, the jumper and the antenna coax. A stable result gives you something trustworthy to act on. An erratic result is a reason to inspect the system again.
Step 3: Read the pattern before you adjust
If the SWR is lower on channel 1 and higher on channel 40, the antenna is generally electrically long for this setup. If the SWR is higher on channel 1 and lower on channel 40, the antenna is generally electrically short. When the readings are close on both channels but still higher than expected, the issue may be less about length and more about the mount, coax, connector or the antenna's surroundings.
That last case matters. An antenna adjustment changes one thing: electrical length. It does not repair a broken coax shield, correct a mount that is isolated from the body or undo a bad connector. A consistent high reading on both ends of the band is your prompt to slow down, recheck the installation and consult the antenna instructions before cutting anything.
Do not expect the same reading on every channel. A mobile antenna is a compromise over a band of frequencies. You are looking to place the best match where you operate, while keeping the rest of the band in a sensible range. The ARRL's tuning guidance uses the same practical principle: tune for the lowest reading in the frequencies you need, then check the surrounding range rather than expecting a perfect number everywhere.
Step 4: Make one small, reversible adjustment
Use the adjustment method designed into your antenna. Some antennas let you raise or lower a whip in a set-screw collar. Others use tuning rings or a manufacturer-specific system. Cobra's SWR adjustment guidance notes that many steel whips can be adjusted by moving the whip in small steps before trimming is considered. Start with the reversible adjustment whenever you have one.
When the antenna reads electrically long, a small shortening adjustment is usually the direction to test. When it reads electrically short, a small lengthening adjustment is usually the direction to test. Make a tiny change, tighten the hardware securely, then repeat the channel 1 and channel 40 readings. One adjustment at a time lets you see cause and effect. Two or three changes at once only hide it.
Cutting a whip is the last step, not the first. Only do it when the antenna maker explicitly allows it, the readings clearly point in that direction and you have already used the available adjustment range. Remove the smallest permitted amount, clean the cut, and retest. You can always remove more later. You cannot add a piece back after the fact.
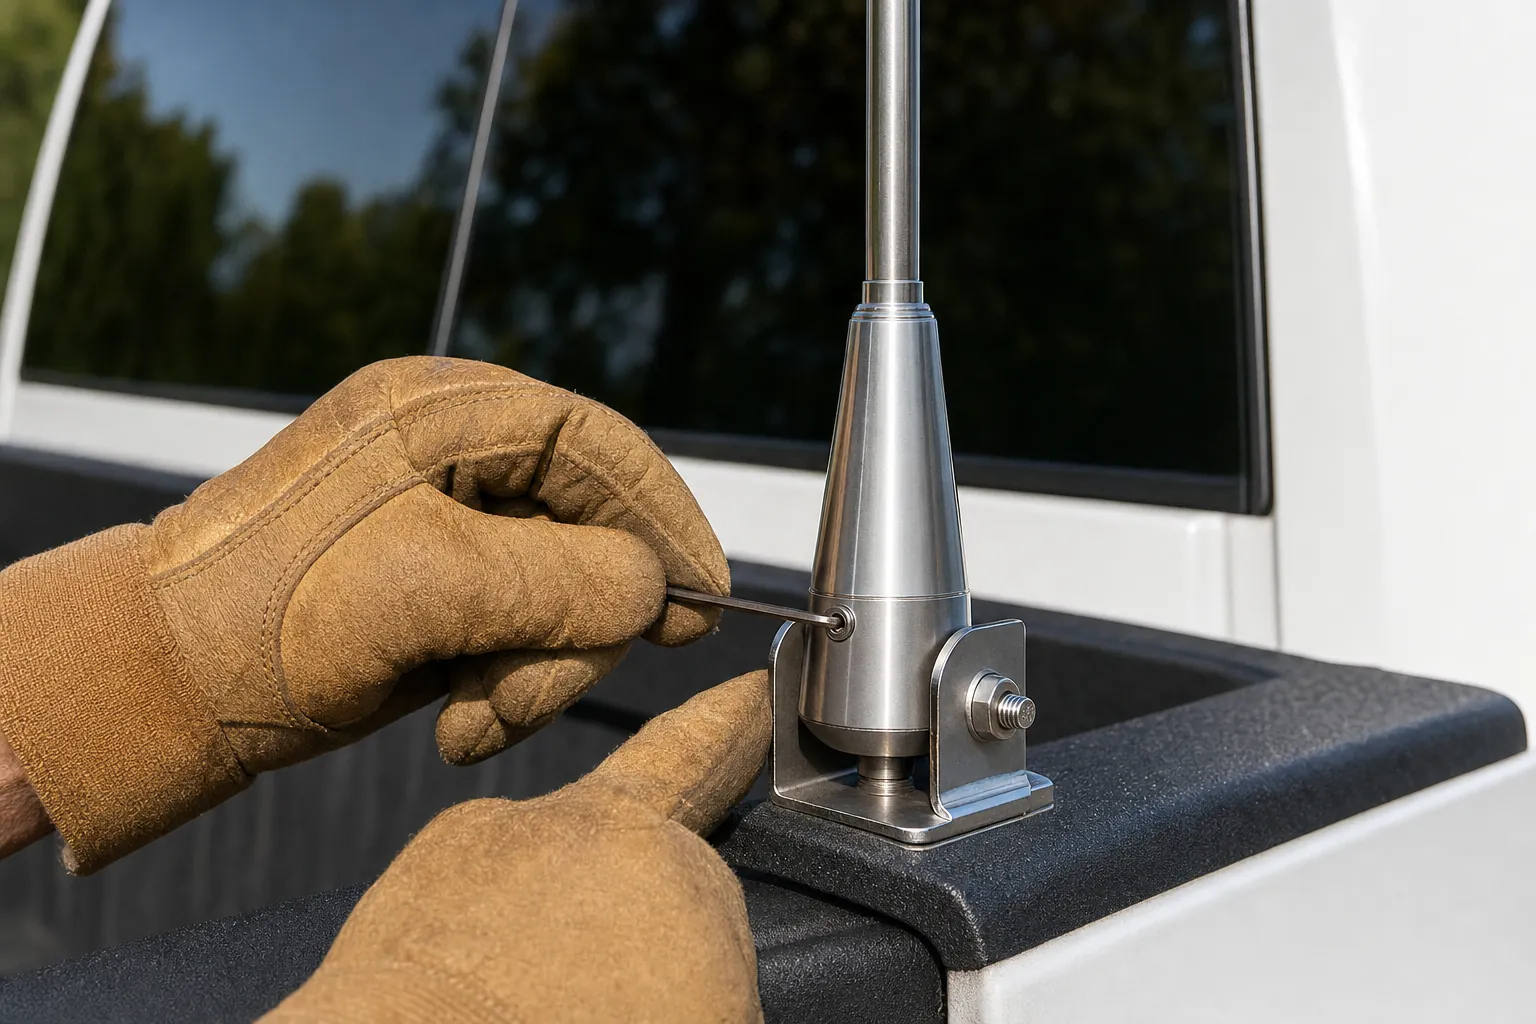
Step 5: Retest after every change
Return to channels 1 and 40 after each adjustment. If the difference between them moves in the direction you expected, keep working in small steps. If the readings move the wrong way, return to the previous setting and reassess. An antenna that does not respond logically to length changes often has an installation issue worth finding before you spend money on parts.
Once you have a stable result, check a few channels you actually use. Tighten the hardware again, route the coax so it cannot rub or pinch, and recheck after a short drive if the mount was recently installed. Vibration can reveal a loose connection that looked fine in the driveway.
When tuning points to a bigger problem
Stop the process and get another set of eyes on the system when the meter stays high on every channel, the reading changes wildly when you touch the coax or mount, the radio has a protection warning, or the antenna has no supported adjustment method. The same applies when you are unsure whether the mount has a proper electrical path to the vehicle. Those are diagnosis problems, not trimming problems.
For fixed base antennas, keep the installation within the applicable rules. The FCC's CB antenna-height rule sets a limit of 60 feet above ground or 20 feet above the highest point of the supporting building or tree, whichever is higher. If you are changing a base installation, check the current rule before making it taller.
A good antenna setup is also part of a complete system. If you are sorting out a new build, compare the radio, mount, cable and microphone together rather than treating each part as separate. Our noise-cancelling microphone guide can help with the audio side once the antenna system is behaving.
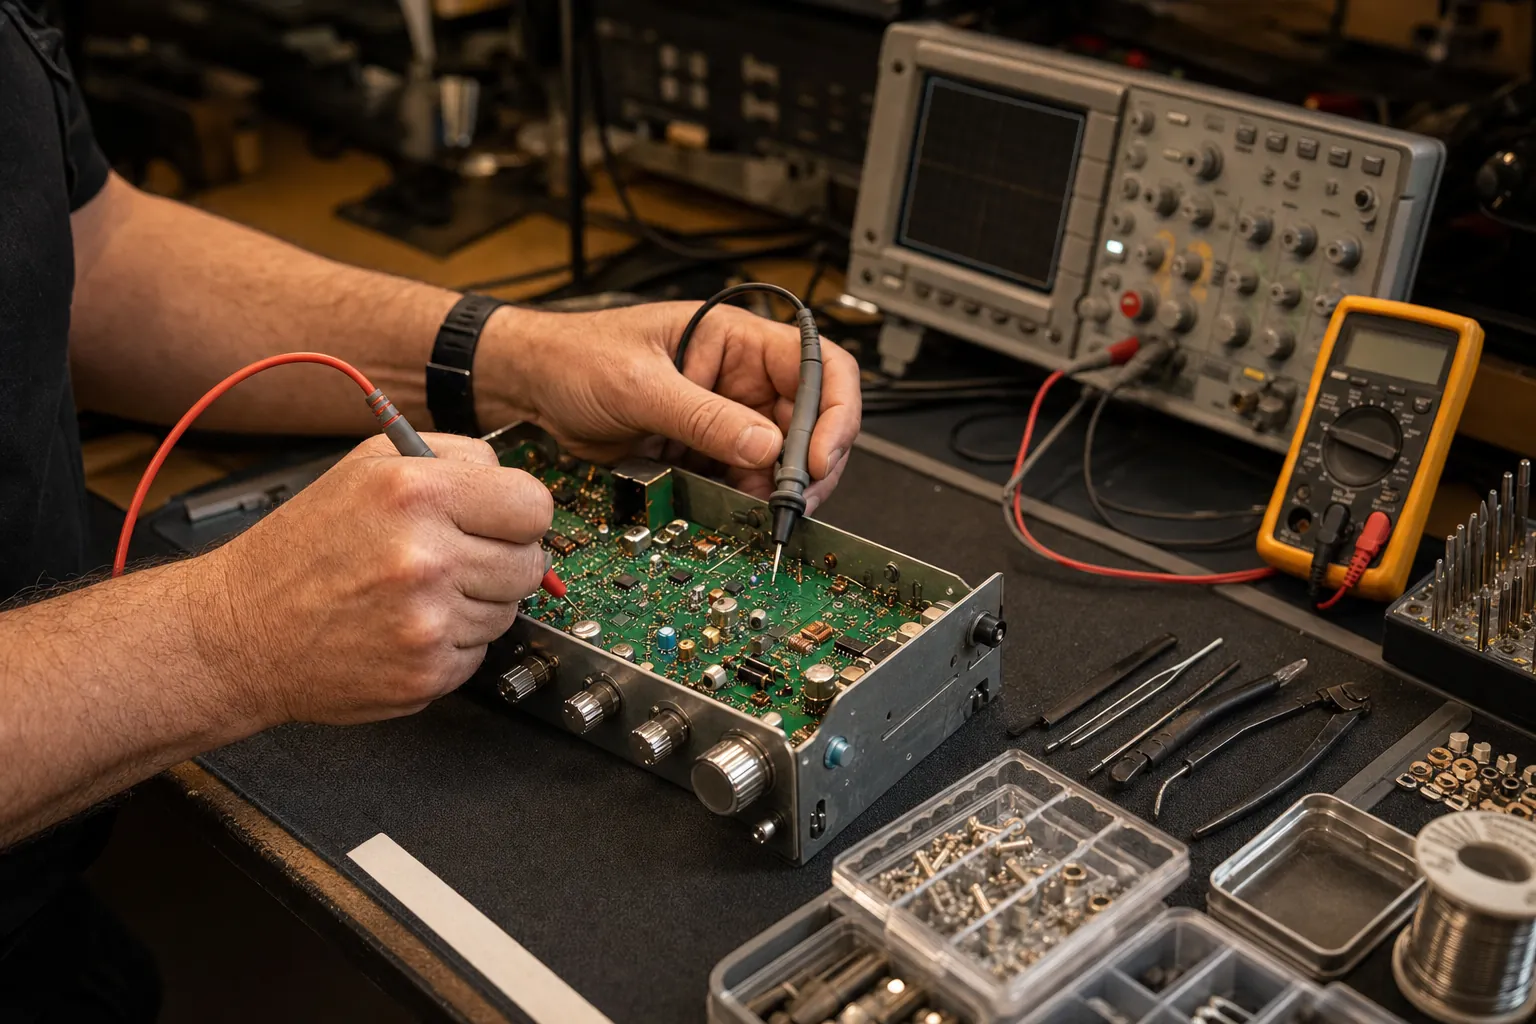
Need a Bench Check?
Bring the readings, not the guesswork.
Tell the shop your radio model, antenna type, mounting location and the channel 1 and 40 readings. That gives the repair conversation a useful starting point.
Request a Repair →Frequently asked questions
What SWR should I aim for on a CB antenna?+
The best practical target is the lowest stable reading you can achieve across the channels you use. A perfect 1:1 is uncommon in a real vehicle installation. Many operators aim to keep the reading at or below 1.5:1, but your radio and antenna maker should have the final say for their equipment.
Why is my SWR higher on channel 40 than channel 1?+
When the reading is higher on channel 40 than channel 1, the antenna is generally electrically long for the part of the band you are checking. On an adjustable antenna, that usually points toward a small shortening adjustment. Check the manufacturer instructions before moving or trimming anything.
Why is my SWR higher on channel 1 than channel 40?+
When the reading is higher on channel 1 than channel 40, the antenna is generally electrically short. That can call for a small lengthening adjustment when the antenna design allows it. If it does not allow adjustment, inspect the mount, ground path, coax and connectors before replacing parts.
Can I tune a CB antenna without an SWR meter?+
You can make rough comparisons with another radio, but that does not show the electrical match at the radio. An SWR meter gives a repeatable reading, which is why it is the right tool for a new installation or an antenna that has changed behavior.
Should I cut my CB antenna to tune it?+
Only cut a whip when the antenna maker specifically supports trimming and you have confirmed the pattern of your readings. Remove the smallest amount allowed by the instructions, then measure again. A cut whip cannot be made longer, so rushing this step is expensive.
Keep Reading
Related Posts

Guide
How to Install a CB Radio: A Practical Vehicle Guide
Plan a safe, dependable CB radio installation by choosing the radio location, power route, antenna mount, coax path and final SWR check in the right order.Read the guide →
Guide
Do Truckers Still Use CB Radios? What They’re Good For
CB radios are still useful for nearby, real-time road communication. Learn where they fit alongside a phone, what to expect and how to build a dependable truck setup.Read the guide →
Guide
CB Radio Turns On but Has No Sound? 7 Checks Before Repair
CB radio turns on but no sound? Check the volume, squelch, external speaker, microphone and audio modes before booking a repair.Read the guide →
Guide