An SWR meter is one of the most useful diagnostic tools in a mobile CB setup. It tells you whether the radio, coax and antenna are working together at the channel you are testing. Used correctly, it can catch a loose mount, damaged coax or an antenna adjustment headed in the wrong direction before you spend money replacing parts.
This guide covers a typical external analog meter used with a mobile CB radio. Meter layouts differ, so the labels on your meter and its instructions always come first. The method is still the same: make the right connections, measure under normal conditions, calibrate when your meter requires it, then compare readings instead of guessing.
What an SWR meter is actually checking
SWR means standing wave ratio. The number describes how well the antenna system is matched to the radio at a chosen frequency. When the match is close, more of the signal goes out through the antenna. When it is poor, more energy is reflected back toward the radio. The ARRL’s explanation of standing waves shows why reflected energy in the feed line is a useful way to identify a mismatch.
The meter does not tell you which part has failed. It gives you a pattern to investigate. A poor reading can come from antenna length, but it can also come from a mount isolated by paint, a loose connector, pinched coax, corrosion or a vehicle change that altered the antenna’s surroundings. That is why it is worth making the measurement carefully before moving or cutting a whip.
Choose a meter that fits your radio
For a standard CB installation, use an SWR meter that covers the CB band around 27 MHz. The meter also needs a power range that suits your radio. A meter designed for a very different frequency range can give misleading results, and a meter that is not rated for the radio’s output can be damaged during testing. If you have a radio with nonstandard output or selectable power levels, check the meter instructions before connecting it.
There are three common styles. A manual analog meter has a switch for forward or calibration and a knob that lets you set the needle before reading SWR. A cross-needle meter shows forward and reflected power together, which can make the final reading quicker. A digital meter presents the result on a screen. The connection sequence is similar for all of them, but the calibration procedure is not, so do not borrow steps from a different style of meter.
Keep a short jumper coax in good condition for an external meter. The jumper is part of the test path. A worn or poorly made jumper can add a problem of its own and make you chase the antenna when the meter connection is the real issue.
Connect the meter in the right order
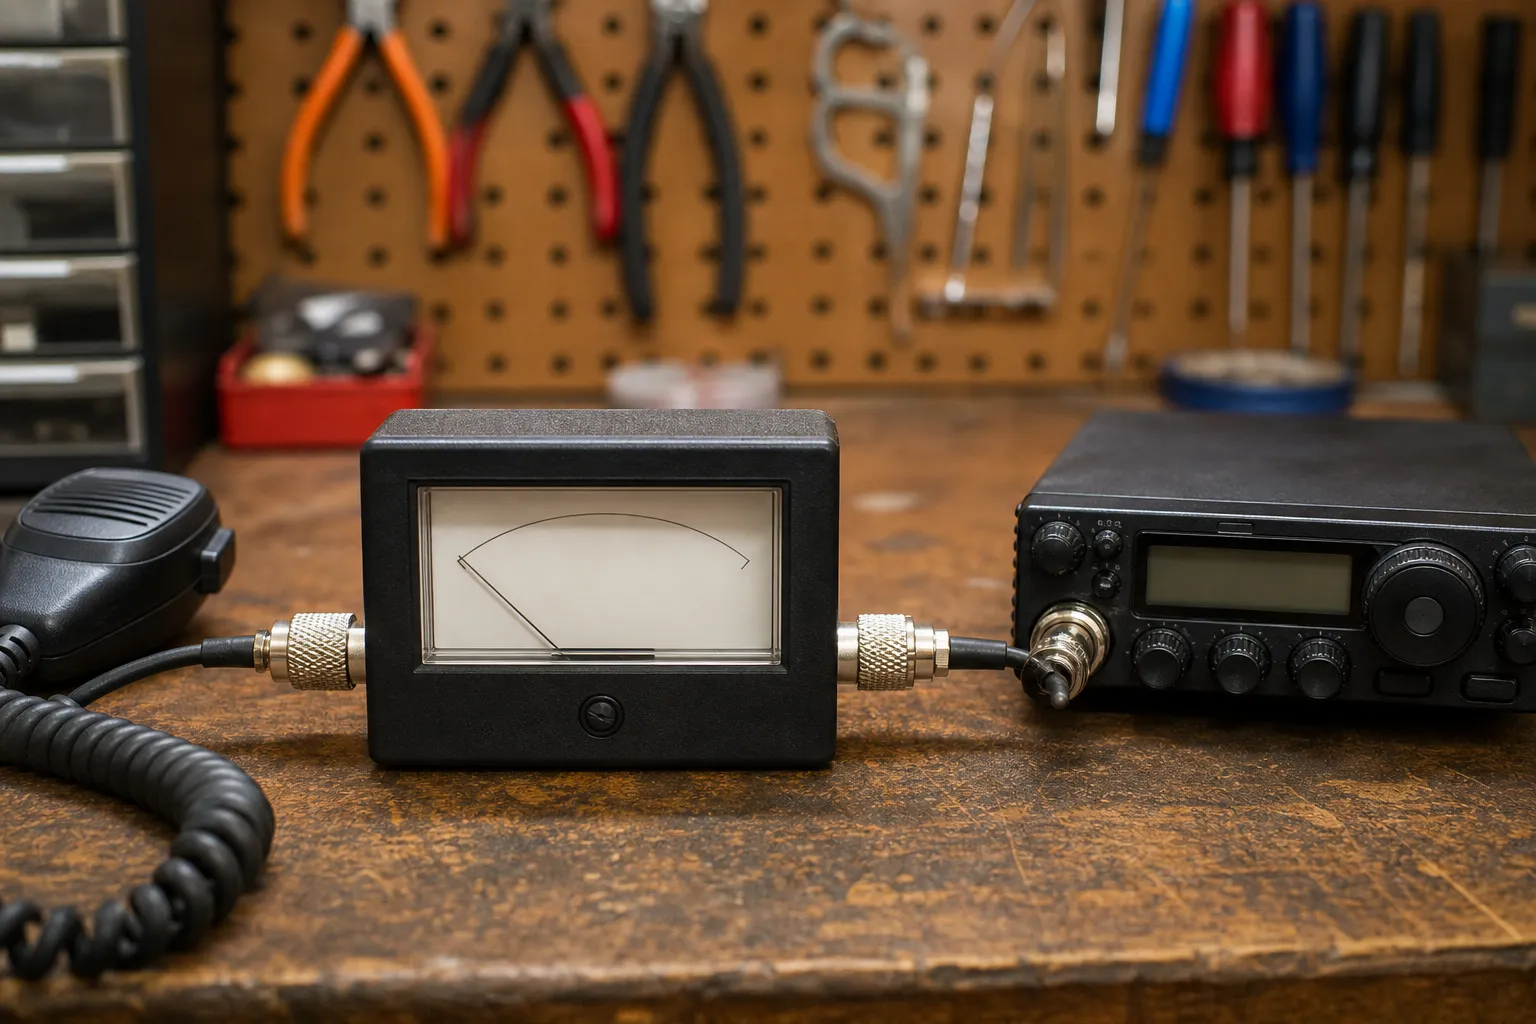
Put the meter between the radio and the antenna. The radio connects to the meter port labeled transmitter, radio or TX. The antenna coax connects to the port labeled antenna, ANT or output. Those labels matter. Reversing them can produce bad readings, and some meters will not work correctly at all when connected backward.
- Turn the radio off. Disconnect the antenna coax from the back of the radio before you start moving cables around.
- Connect the jumper coax. Run it from the radio’s antenna jack to the meter’s transmitter or TX side.
- Connect the vehicle antenna coax. Attach it to the meter’s antenna or ANT side, then snug both connectors by hand without cross-threading them.
- Place the meter where you can read it. Keep the cables relaxed, without sharp bends, crushed sections or adapters hanging under tension.
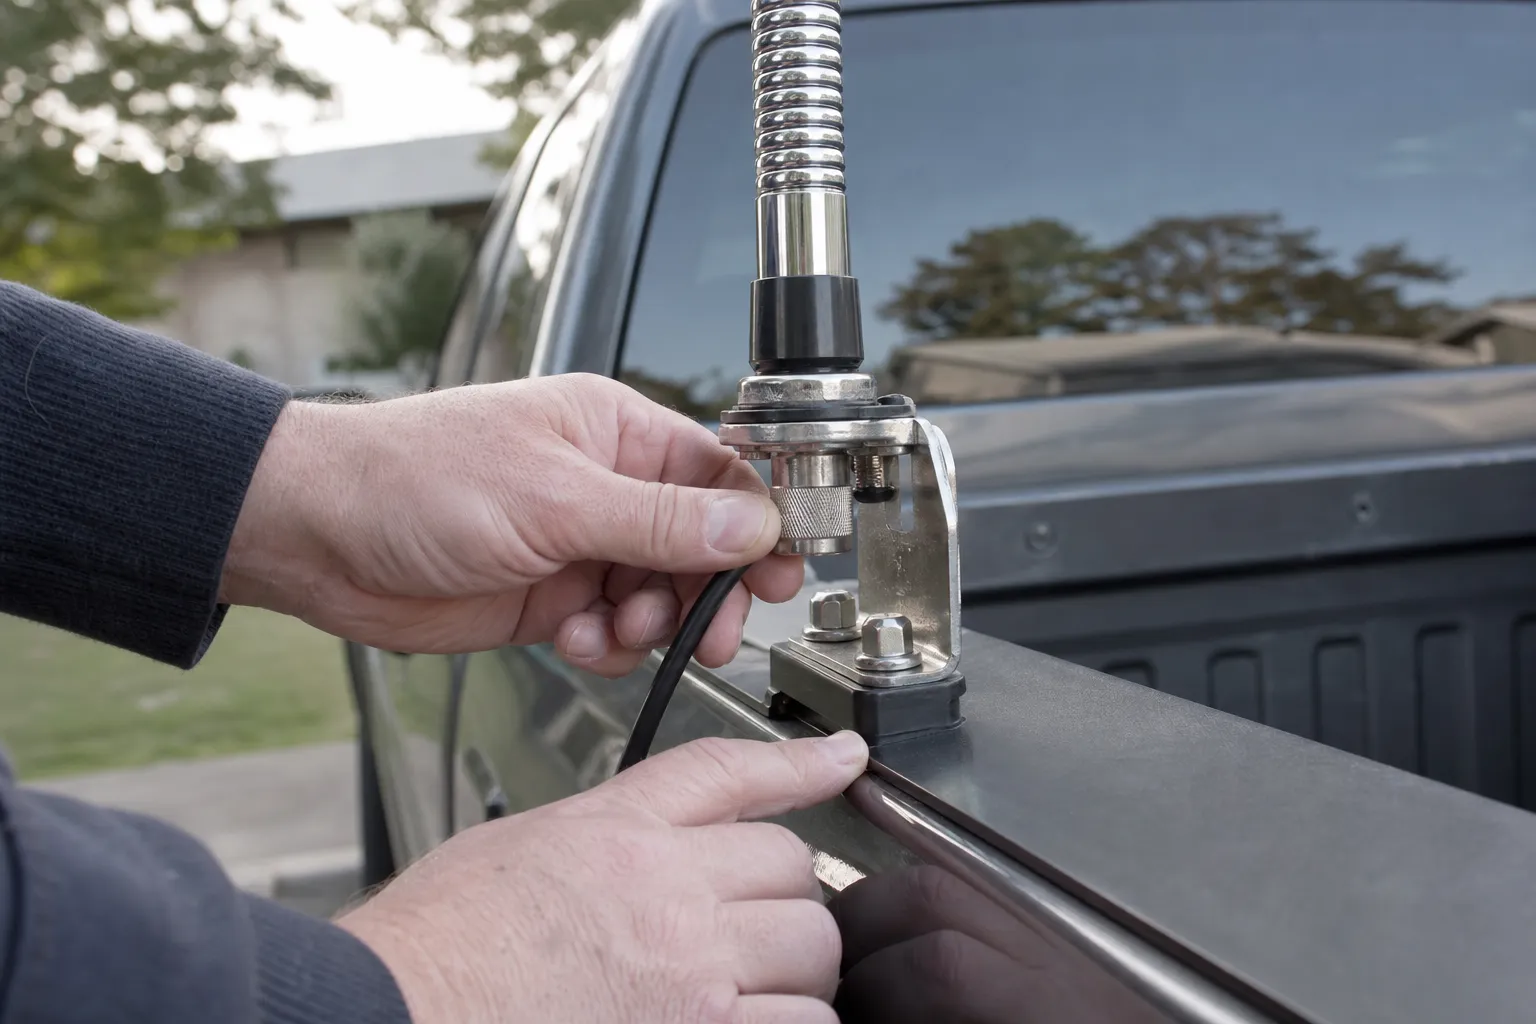
Take a moment to inspect the connectors before you key the microphone. The center pin should be straight, the outer threads should start cleanly, and the cable should not feel loose at the connector body. A poor coax connection can create erratic readings that look like an antenna problem. If the install itself needs a second look, the mobile antenna setup guide covers placement, mounting and cable-run checks.
Set up a repeatable test
Readings only help when the test conditions are consistent. Park outside when possible, away from buildings, power lines and other vehicles. Keep the antenna upright in the position you use while driving. Close the doors and tailgate. A folded antenna, a trailer beside the truck or a person leaning on the antenna can change the result because the antenna system responds to nearby metal and objects.
Use AM mode when your radio offers several modes, unless your meter instructions say otherwise. Set the radio to a normal testing power level and turn off extra transmit features that could confuse the procedure. The key point is not a special setting, it is using the same setting for every measurement so you can compare one channel with another.
Start with a short check on channel 1, then repeat on channel 40. Those channels show the low and high ends of the CB band. A reading on channel 20 can be helpful as a middle reference, but the difference between channels 1 and 40 tells you much more about whether the antenna is acting electrically long, short or simply has another installation problem.
How to calibrate a manual SWR meter
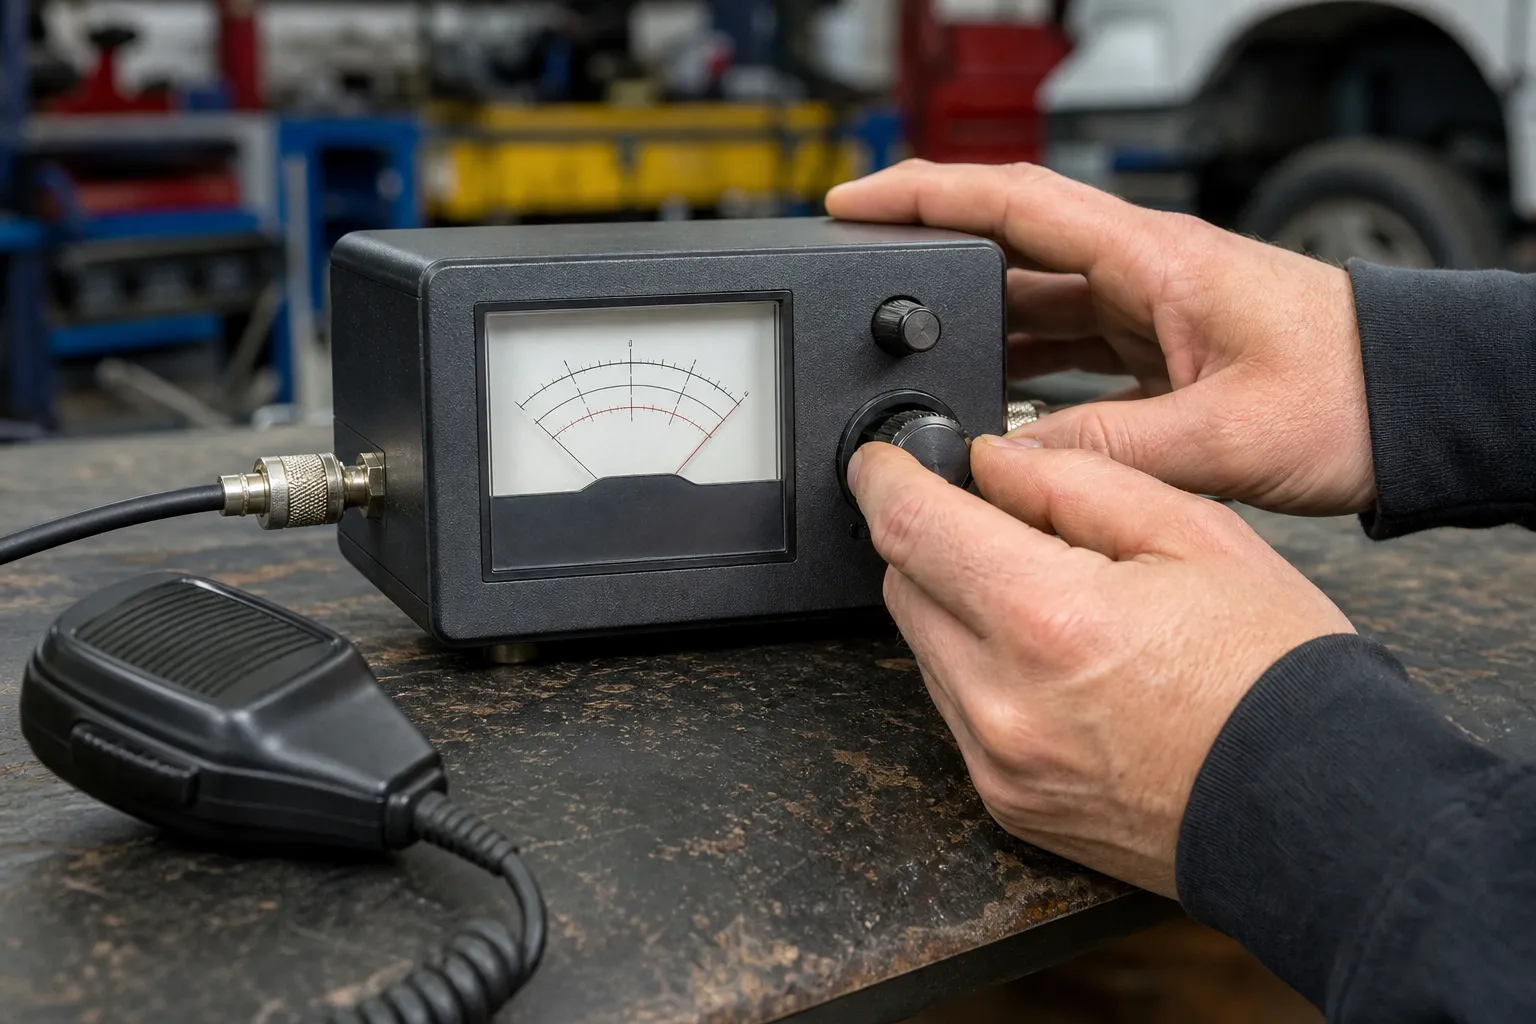
Manual meters need a calibration step before they can show the SWR reading. Look at the meter face and switch positions first. Common labels include FWD or CAL for the calibration position and REF or SWR for the reflected-power reading. Your meter may use different words, so follow its manual if the labels do not match.
With the radio set to your first test channel, switch the meter to the calibration or forward position. Key the microphone briefly and turn the calibration knob until the needle reaches the marked set point. While making only the measurement-length transmission, move the switch to the SWR or reflected position and read the number where the needle lands. Release the microphone as soon as you have the reading.
Calibrate again whenever the meter procedure calls for it, especially after changing channels. The calibration is not a one-time adjustment for the entire afternoon. It establishes the reference for that individual measurement. Skipping it is one of the easiest ways to get a number that looks precise but does not mean much.
Keep a simple record of each reading
Use a note on your phone or a scrap of paper and write down the channel, the reading and anything you changed. A useful first set might look like channel 1, channel 20 and channel 40, all measured with the same radio mode and power setting. Then write down each later adjustment, even if it only moves the whip a small amount. This gives you a clear direction instead of relying on memory after several trips from the cab to the antenna.
A good set of notes also makes it easier to spot a problem that is not responding like an antenna-length issue. For example, if moving the whip a small amount changes one channel but creates random results on the next test, the mount, coax or meter connections deserve another inspection. If the readings shift after driving, check that the mount hardware is still tight and that the coax has not started rubbing against a sharp edge.
When you ask for help, those notes save time. A shop can make a better first assessment with the radio model, antenna type, mounting location and a few consistent channel readings than with a general description that the range “does not seem right.” That practical detail is especially helpful when deciding whether you need an antenna adjustment, a new connection or a deeper CB radio repair check.
Read the pattern across the band
Write down your channel 1 and channel 40 readings before changing anything. If the reading is lower on channel 1 and higher on channel 40, the antenna is generally electrically long for the range you are checking. If the reading is higher on channel 1 and lower on channel 40, it is generally electrically short. When the readings are similar but both remain higher than expected, look closely at the mount, coax and connectors before adjusting antenna length.
Do not expect a real mobile antenna to give one perfect number everywhere. Mobile installs are a compromise, and the vehicle is part of the antenna system. What you want is a stable result that stays within the limits set by your radio and antenna maker, with a pattern that makes sense as you compare the channels you use. The Cobra SWR adjustment guide also recommends small, measured changes followed by a fresh check rather than making large changes all at once.
If the needle jumps around from one short measurement to the next, stop. Retighten the meter connections, inspect the jumper coax and check the antenna-side connection. Unstable readings are not a reason to start trimming a whip. They are a reason to find the part of the installation that is not making a reliable connection.
What to do when the reading is high
A clearly high reading is your signal to inspect the system before using the radio normally. Start with the parts that are easy to verify: the meter is connected in the correct direction, the antenna coax is fully seated, the mount is tight, the coax is not crushed and the antenna has not been folded or moved from its normal position. Look for paint, powder coat, plastic or corrosion that could prevent a sound electrical connection at the mount.
Only move to antenna adjustment after the installation checks out and the channel pattern is consistent. If your antenna has a set-screw collar or tuning rings, use the reversible adjustment first. Make one small change, tighten the hardware, then repeat the channel 1 and channel 40 readings. Our CB antenna tuning guide walks through that decision process in detail, including when the meter pattern points to a longer or shorter adjustment.
Do not keep transmitting into a reading that is obviously high just to see whether it improves. Short test transmissions are enough for a measurement. If your radio gives a protection warning, the reading will not settle, or you are unsure whether the mount has the right electrical path, it is time to stop and diagnose the installation rather than forcing an adjustment.
Common meter-reading mistakes to avoid
The most common mistake is calibrating once, changing channels and assuming the same setting still applies. Another is taking a reading while the antenna is folded down, parked beside a metal building or pushed close to a rack that is not present during normal driving. The meter may be doing its job perfectly, but the setup you are testing is not the setup you actually use.
It is also easy to blame the antenna first because the whip is visible and adjustable. Start with the less permanent checks instead. Inspect the coax for a crushed or sharply bent section. Confirm the mount has a sound connection to the part of the vehicle it is meant to use. Look for corrosion around the stud, a loose connector or a center pin that has been pushed back inside its plug. A length adjustment cannot fix a damaged feed line.
Finally, avoid testing longer than necessary. An SWR check only needs a brief key-up to take the reading. If something looks wrong, release the microphone and investigate. That disciplined approach protects your equipment and gives you cleaner information than repeated, long test transmissions. Once the antenna system is stable, you can turn to the rest of the setup, including the microphone and audio choices covered in our noise-cancelling microphone guide.
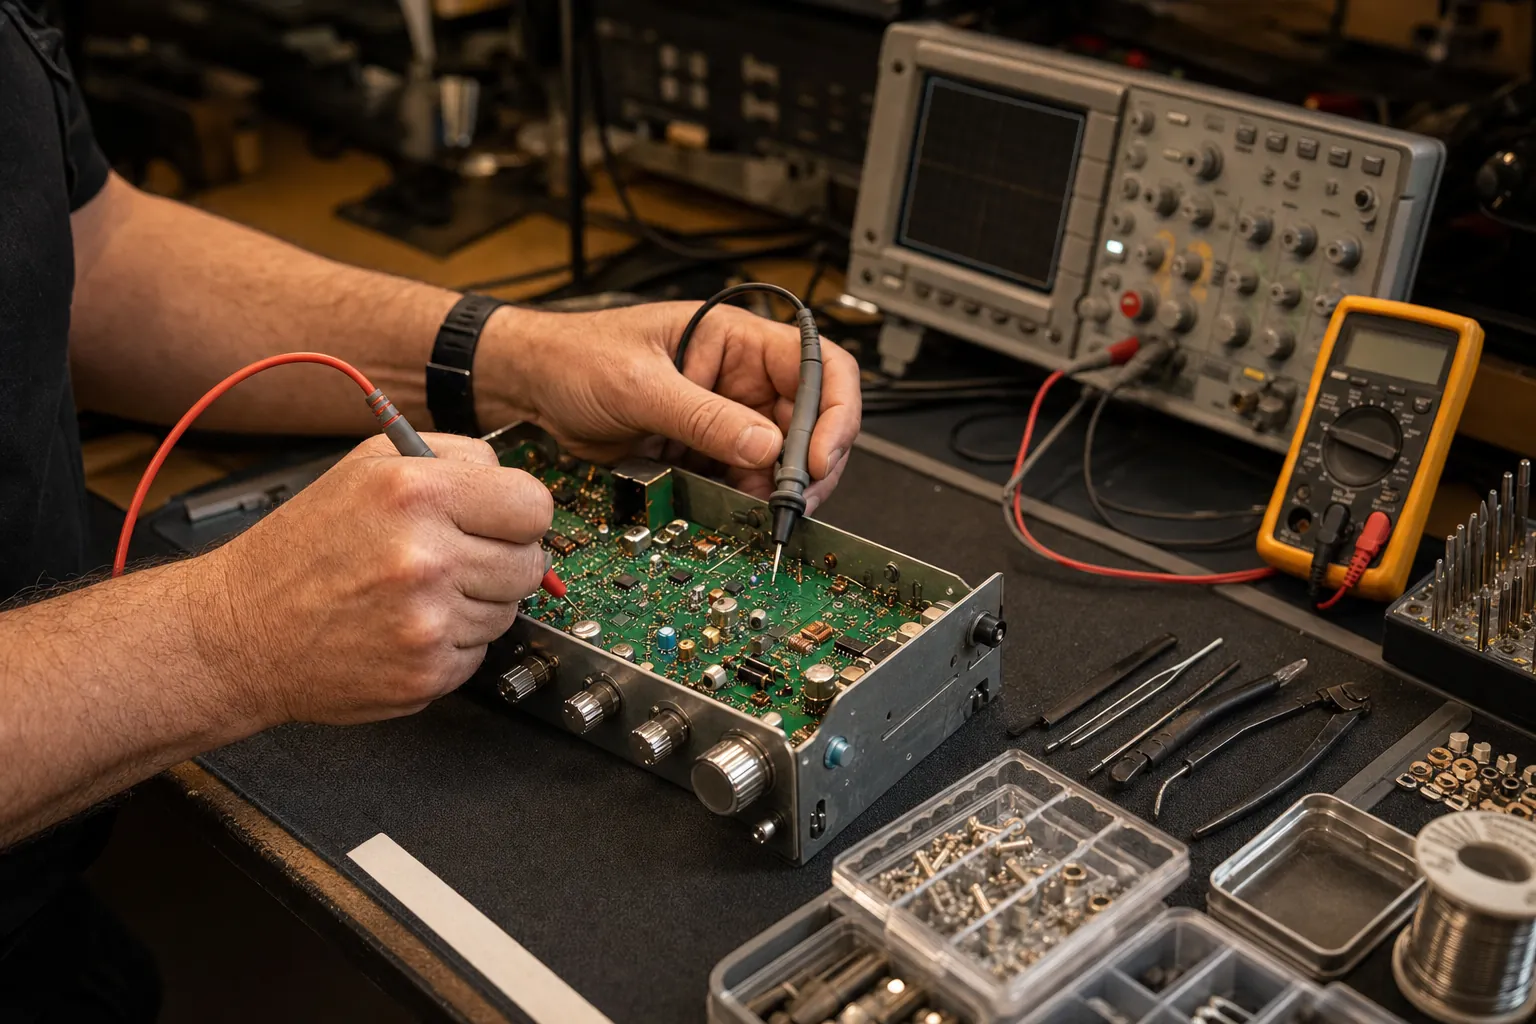
Need a Bench Check?
Bring the readings, not the guesswork.
Share your radio model, antenna type, mounting location and readings on channels 1 and 40. That gives the shop a useful starting point.
Request a Repair →Frequently asked questions
Where does an SWR meter connect on a CB radio?+
An external SWR meter goes in line between the radio and the antenna system. Connect a short jumper coax from the radio to the meter input marked for the transmitter, then connect the vehicle antenna coax to the meter output marked for the antenna. Check the labels and instructions on your exact meter before transmitting.
Do I need to calibrate an SWR meter on every channel?+
Manual meters usually need to be calibrated each time you change channels or follow a new measurement step. The calibration sets the forward-power reference for that reading. Cross-needle and digital meters may work differently, so use the procedure that came with the meter.
What does a high SWR reading mean?+
A high reading means the radio and antenna system are not working together as closely as they should at that channel. It can come from antenna length, the mount, coax, connectors or the antenna’s surroundings. Treat it as a clue to investigate, not an instruction to trim the whip immediately.
Can I use any SWR meter with a CB radio?+
Use a meter that covers the CB frequencies around 27 MHz and that can handle the power your radio uses. A meter intended for a different band may not give a useful reading, while a meter with an unsuitable power range can be damaged or misleading.
Should I transmit when the SWR meter reading is high?+
Keep any test transmission as short as the meter procedure requires. If the reading is clearly high or unstable, stop and inspect the antenna system before using the radio normally. Your radio and antenna maker’s limits are the final authority for your equipment.
Keep Reading
Related Posts

Guide
How to Install a CB Radio: A Practical Vehicle Guide
Plan a safe, dependable CB radio installation by choosing the radio location, power route, antenna mount, coax path and final SWR check in the right order.Read the guide →
Guide
Do Truckers Still Use CB Radios? What They’re Good For
CB radios are still useful for nearby, real-time road communication. Learn where they fit alongside a phone, what to expect and how to build a dependable truck setup.Read the guide →
Guide
CB Radio Turns On but No Sound: What to Check
Use a simple audio troubleshooting sequence to find out whether the problem is a control, speaker connection, microphone mode or a radio that needs repair.Read the guide →
Guide