

The coax cable between a CB radio and antenna is easy to overlook because it usually disappears behind trim, under a seat or along a bed rail. But that cable, its connectors and the route it follows are all part of the antenna system. A cable that is pinched, wet, loose or incorrectly connected can create the same weak-range or high-SWR symptoms people often blame on the antenna itself.
This guide covers the practical parts of a normal mobile CB coax run: choosing the right cable for the antenna, routing it without damage, checking the connectors and knowing when a reading points toward the cable rather than a whip-length adjustment. Use your antenna and radio instructions as the final word for their parts and power limits.
What the antenna cable does
Coax carries the radio’s signal to the antenna and brings the antenna system’s electrical behavior back to the radio. It is not just an extension cord. The cable type, connectors and condition all affect whether the radio sees a stable antenna system. The ARRL’s SWR overview explains why a mismatch sends energy back along the feed line instead of allowing the system to work as intended.
That does not mean a perfect cable will fix every antenna problem. It means the cable needs to be eliminated as a source of trouble before you change the antenna. When the coax is healthy and the mount is sound, SWR readings are far easier to interpret. When the cable is questionable, each adjustment becomes a guess.
Use the cable recommended for the antenna system
Start with the cable type and connection style specified for the antenna. Some mobile antennas are sold with their own coax, while others expect a particular connector or a separate cable assembly. Keep those parts together when the manufacturer designed them as a system. A specialty no-ground-plane antenna, for example, may depend on a matching cable arrangement that is not interchangeable with a generic mobile antenna lead.
Length should be driven by the installation. You need enough cable to reach from the antenna mount to the radio with gentle bends, strain relief at both ends and room for normal seat or door movement. You do not need a tight spool hidden under the seat. Excess cable can be managed in broad loose loops, but a large random coil, a crushed bundle or an overly tight run creates a problem that does not belong in the installation.
Antenna instructions should also guide replacement decisions. Replacing the cable because it is visibly damaged, has moisture inside a connector or has an unreliable connection makes sense. Replacing it only because a reading is not perfect, before you inspect the mount and antenna, usually just adds another variable.
Route coax where it can survive the vehicle
Look at the whole route before you secure a single clip. The cable should avoid hinges, door seals that crush it, seat rails, sharp sheet-metal edges, hot exhaust parts and cargo areas where it can be pinched. A cable that looks fine while the door is open may be flattened every time it closes. A cable behind a rear seat may be pulled when the seat moves.
Use broad bends rather than hard kinks, and leave a little slack near the antenna mount so vibration does not work directly on the connector. Where a cable passes through a panel, use the correct grommet or fitting. Where it runs along an interior panel, secure it so it cannot rub through or hang in the way of a pedal, seat belt or moving seat mechanism.
Keep the coax separated from power wiring where practical. You do not need to turn the route into a puzzle, but do not bundle it tightly with high-current accessory wiring or use it as a substitute for a ground lead. A tidy route is easier to inspect later, which matters when the system develops a problem months after installation.

Inspect both ends before you touch the antenna
Most coax problems announce themselves at a connector. Check the radio-side connector, any meter jumper, the antenna-side connector and the connection at the stud. Look for corrosion, moisture, a loose coupling nut, a center pin that is pushed back, a cracked cable jacket or braid that is not where it belongs. Each connection should seat firmly without forcing it.
Pay attention to changes in behavior. If the reading jumps when you move the cable, rotate a connector or close the tailgate, stop adjusting the antenna. That is useful information. It suggests the system is reacting to a connection, strain point or cable damage, not simply to electrical length.
Do not assume a shiny connector is a good connector. A terminal can look clean while its center conductor is loose or the cable has been pulled away inside the fitting. Conversely, a little surface dust does not automatically mean the cable needs replacement. Look for a specific fault and correct that fault before buying parts.

Use a meter to separate a cable issue from a tuning issue
Once the cable and connectors look right, take short, repeatable readings with an SWR meter. The CB SWR meter guide shows how to connect and calibrate the meter. Read channels 1 and 40 under the same conditions, and write down the results before changing anything.
A stable pattern that changes logically after a small antenna adjustment can point toward ordinary tuning. A high reading at both ends of the band, a result that varies when the coax is moved or a reading that changes without an antenna adjustment is different. Inspect the jumper, coax, mount and connectors again. The cable path is not the only possibility, but it deserves attention before you permanently trim or replace an antenna.
When channel 40 is higher than channel 1 and the system is otherwise solid, use the channel 40 SWR guide to understand the adjustment direction. If the mount or cable is uncertain, begin with the antenna mounting guide instead. The order matters because a meter cannot tell you to fix a loose connector in plain language.

Do not mistake a meter jumper for the antenna cable
An external SWR meter usually uses a short jumper between the radio and meter, plus the main antenna coax from the meter to the antenna. Both are connections worth checking. A poor jumper can make a healthy main cable look suspicious, while a damaged main cable can make a new jumper look ineffective.
Use the exact input and output markings on the meter. The radio connects to the transmitter or input side, while the vehicle antenna line connects to the antenna or output side. Follow the procedure printed on your meter and keep the test transmission short. A setup mistake is easy to correct, but only after you notice it.
A simple cable fault checklist
Start at the radio and follow the cable with your eyes and hands all the way to the antenna mount. You are looking for a reason the cable may have been stressed: a spot where it rubs a sharp edge, a section trapped under trim, a tight bend at the connector, a crushed point near a hinge or a place where water can sit. Check the meter jumper as carefully as the main cable because both are part of the test setup.
Next, take readings without moving the cable, then make only a gentle check of the accessible connectors and cable sections. A stable system should not show a dramatic change from ordinary handling. Do not pull on the connector, twist the center pin or repeatedly key the microphone while you investigate. You are trying to find a repeatable clue, not create a new fault.
If you find one clear problem, correct that one problem and retest before changing anything else. Replace a damaged connector, protect the sharp edge or reroute the crushed section, then take the same channel readings again. Fixing three possible issues at once may improve the system, but it leaves you with no useful understanding of what failed.
Keep the finished route serviceable
A clean cable route should still be possible to inspect. Do not hide every inch of coax behind permanent trim if a removable panel or accessible path will do the job. Leave enough access at the radio, meter connection and antenna mount to check a connector without pulling the whole installation apart.
After a wash, storm or winter road trip, make a quick visual check of the exposed antenna-side connector and cable jacket. You do not need a full retune after every drive. You do need to catch water, corrosion and abrasion before they turn into an intermittent issue that is hard to reproduce.
When to replace the cable
Replace coax when you find a clear problem: a crushed section, split jacket, water intrusion, severe corrosion, a connector that will not hold securely or readings that stay unstable after other installation checks. Replace it when the new mounting location needs a different route or when the antenna manufacturer calls for a matching cable assembly.
Before installing the replacement, correct the reason the old cable failed. Add a grommet at the sharp edge, move it away from the hinge, create a little strain relief at the mount or choose a safer route. A new cable put through the same pinch point is just a delayed repeat of the old problem.
Know when a cable check should become a repair conversation
Stop transmitting normally when the reading is clearly high, unstable or outside the limits in the equipment instructions. Short meter checks are enough to gather information. Continuing to key the microphone does not fix a mismatch, and it can put unnecessary stress on the radio.
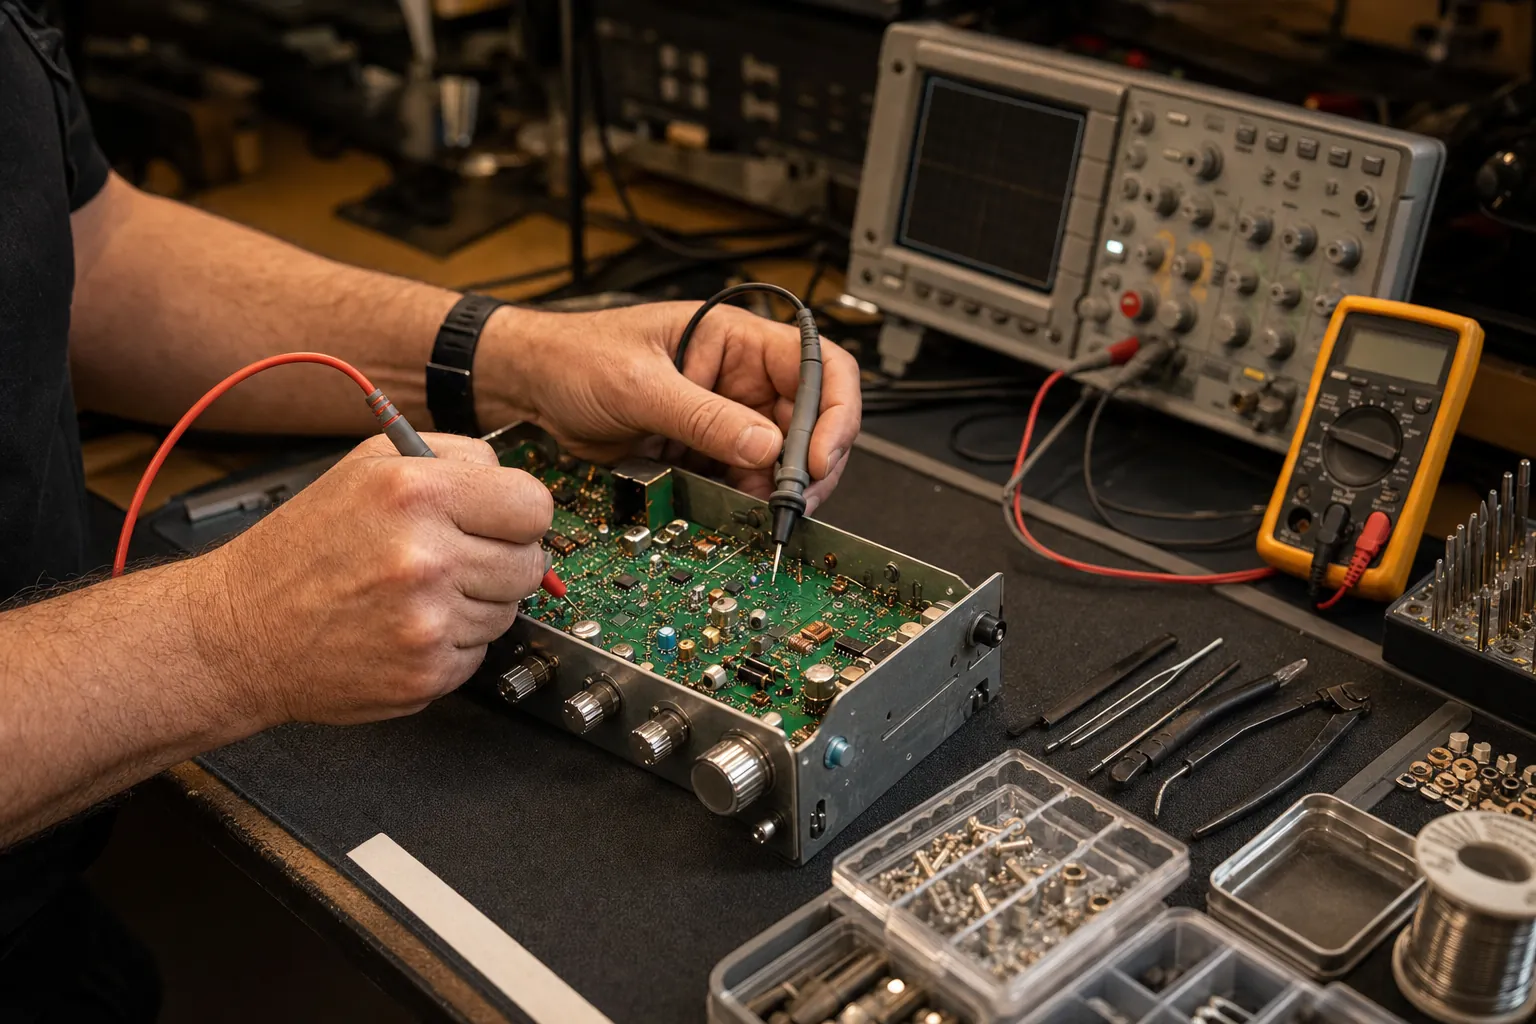
If the vehicle installation is sound but the radio still loses range, sounds weak or shows a protection warning, bring the evidence with you: radio model, antenna type, cable route, mount location and channel readings. Custom CB Radios can use those details to start a more useful conversation through the CB radio repair service. A complete system check often prevents replacing a radio when the real issue is outside the radio.
Need a Bench Check?
Bring the cable details too.
Share the antenna type, cable route, mounting location and readings. That helps the shop isolate the right next step.
Request a Repair →Frequently asked questions
Does CB antenna coax length matter?+
Use the length and cable type recommended for your antenna system, with enough slack for a safe route but no crushed or unnecessary coil. A healthy coax run should be chosen for the installation, not cut or coiled randomly to force an SWR result.
Can a bad CB antenna cable cause high SWR?+
Yes. A damaged, wet, pinched or poorly connected coax cable can create a high or unstable reading. Check the jumper, cable jacket, connectors and mount-side connection before adjusting the antenna length.
Can I coil extra CB coax cable?+
Avoid a tight, random coil. If the installation leaves a small amount of extra cable, keep it in broad, loose loops away from heat, moving parts and sharp edges. Do not bundle it around power wiring or force it into a tight space.
How do I know if a PL-259 connector is bad?+
Look for looseness, corrosion, moisture, a center pin that is pushed back, a damaged cable jacket or a connector that does not seat firmly. If readings change when the connector or cable is moved, stop transmitting and inspect the connection before making antenna adjustments.
Should I replace CB coax cable when I replace the antenna?+
Not automatically. If the existing cable is the right type, undamaged and has secure connectors, it may be fine. Replace it when it has visible damage, water intrusion, unreliable connections or when the new antenna installation needs a different route or cable length.
Keep Reading
Related Posts

Guide
How to Install a CB Radio: A Practical Vehicle Guide
Plan a safe, dependable CB radio installation by choosing the radio location, power route, antenna mount, coax path and final SWR check in the right order.Read the guide →
Guide
Do Truckers Still Use CB Radios? What They’re Good For
CB radios are still useful for nearby, real-time road communication. Learn where they fit alongside a phone, what to expect and how to build a dependable truck setup.Read the guide →
Guide
CB Radio Turns On but Has No Sound? 7 Checks Before Repair
CB radio turns on but no sound? Check the volume, squelch, external speaker, microphone and audio modes before booking a repair.Read the guide →
Guide