
A higher SWR reading on channel 1 than on channel 40 gives you a useful direction, but it is not permission to start changing parts at random. In a mobile CB setup, the pattern often means the antenna is electrically short for the portion of the band you are testing. The sensible response is to confirm the test, inspect the installation and make only a small approved lengthening adjustment when the antenna design allows it.
This is the companion pattern to a reading that is higher on channel 40. The two readings belong together because they show how the antenna system behaves at opposite ends of the CB band. A stable comparison tells you far more than a number from one channel. It also helps you avoid turning a loose connector, poor mount or damaged cable into an unnecessary antenna replacement.
What this channel pattern usually means
SWR is short for standing wave ratio. It describes how closely the radio, coax and antenna are working together at a selected frequency. The ARRL explanation of standing waves shows why a mismatch sends some energy back down the feed line instead of out through the antenna.
When channel 1 reads higher than channel 40, the antenna is commonly acting electrically short. In practical terms, its most effective point is sitting above the low end of the channels you are checking. If the antenna has a tuning ring, adjustable tip, set-screw collar or another maker-approved method, a small lengthening adjustment is normally the direction to test. The word “small” matters. One short change can move the readings noticeably.
This conclusion assumes the readings are repeatable. If the meter needle jumps, the readings shift when you touch the coax or both ends of the band are high, treat the installation as the problem until proven otherwise. Antenna length cannot repair a damaged feed line or a mount that is not making the connection the system needs.
Confirm the reading before you adjust anything
Start with the radio and antenna in normal operating condition. Park in an open area when possible, keep the antenna upright and close the doors, tailgate and hood. A truck parked tight to a building, an antenna folded down or a whip touching a rack can change the result. You want readings that reflect how the truck actually runs down the road.
Use the same mode and power setting for every measurement. For a manual meter, follow its calibration procedure on each channel where the meter requires it. Take a short reading on channel 1, then channel 40. Channel 20 can be a useful middle reference, but the relationship between 1 and 40 is the key clue for a length adjustment.

Write down the results before you move the antenna. A simple note such as “channel 1: 2.0, channel 20: 1.5, channel 40: 1.2” gives you a real baseline. If you only remember that one side looked “kind of high,” it is too easy to make several changes and lose track of which direction helped. Our CB SWR meter guide covers the connection and calibration process in more detail.
Inspect the system before lengthening the antenna
An antenna reading is a system reading. Before you touch the adjustment collar, make sure the meter is connected in the correct direction and the jumper coax is sound. Confirm that every connector is snug, the center pins are straight and the cable jacket has not been pinched, rubbed through or pulled tight. A weak connection can produce a pattern that looks precise enough to act on when it is really just unreliable.
Then inspect the antenna-side hardware. The mount should be tight, the stud should not be loose or corroded, and the coax should not be hanging under tension. Some mobile antenna designs depend on a good electrical connection to the vehicle body. Paint, powder coat, plastic shims or corrosion can interrupt that path. The CB antenna mounting guide explains why location and mounting contact deserve attention before the tuning step.

Also look at what surrounds the whip. An antenna close to a cab, headache rack, toolbox, light bar or other large metal object may behave differently than it did during an earlier test. Do not try to tune around an obstacle that is touching the antenna or crowding it in a way that can change every time the truck is loaded. Fix the physical placement first, then test again.
Make the smallest approved lengthening adjustment
Once the readings are stable and the basic checks pass, use the least permanent adjustment your antenna supports. Many adjustable whips use a set-screw collar or movable tip. Others use tuning rings. Follow the instruction sheet for your specific antenna because the direction of adjustment and the usable range are not identical for every design.
- Record channel 1 and channel 40. Use the same meter procedure and make a note before moving the antenna.
- Lengthen only a little. Loosen the approved adjustment hardware, move the whip or tuning section by the smallest sensible amount, then secure it again.
- Repeat the complete check. Measure the same channels under the same conditions instead of looking only at one channel.
- Stop when the pattern improves. Do not keep extending the antenna just because the first adjustment helped. Aim for the best stable match across the channels you use.

Make one change and measure again. That is the whole method. Large moves make it hard to know what caused the result, and forcing an antenna past its adjustment range can damage the part or leave it less secure. If the whip must be cut to tune, stop and read the manufacturer’s instructions first. A trimmed whip cannot be lengthened again, which is why reversible adjustment should be exhausted before any permanent change.
Know when the pattern is not an antenna-length problem
A true electrically short pattern usually moves in a consistent direction when you make a small, approved lengthening adjustment. If the readings do not respond as expected, do not keep chasing the same fix. A high reading at both ends of the band, a reading that changes suddenly after a drive or a needle that jumps during identical tests are all reasons to go back to the mount, cable and connectors.
Coax is a common place to look. A cable can appear fine from the outside while a connector has loosened, a center pin has been pushed back or moisture has reached the connection. The CB antenna cable guide walks through the routing and connector checks that can save a lot of unproductive tuning.
Do not use extra wire, random adapters or a tight coil of spare coax as a shortcut to correct the reading. Those changes hide the real diagnosis and may introduce more variables. The goal is not a clever trick that changes the meter for an afternoon. It is a solid, repeatable installation that remains understandable after the truck has been driven, loaded or serviced.
Watch for changes after a trip, too. If the reading was sensible in the driveway and then becomes erratic after a few miles, vibration may have shifted the antenna, loosened a set screw or stressed a cable connection. Check the hardware before repeating a length adjustment. A consistent baseline makes these changes easier to spot, especially when the truck has been through a low-clearance area, a wash bay or rough worksite access.
It is also worth separating an antenna-system issue from a radio issue. A radio with a weak transmit or receive problem can still show a stable antenna reading. Conversely, an excellent radio cannot overcome a loose mount or damaged coax. Use the meter reading to decide which part of the setup deserves attention first, then avoid replacing a radio simply because the antenna system is still unknown. This keeps each repair decision tied to evidence rather than a hunch.
Use the opposite pattern to rule out the wrong adjustment
It is easy to reverse the two directions when you are standing beside the truck. Keep this simple reminder with your readings: higher on channel 1 generally points toward an electrically short antenna, while higher on channel 40 generally points toward an electrically long antenna. If channel 40 is the high side instead, use our guide to higher SWR on channel 40 before changing the whip.
Neither pattern replaces the antenna maker’s instructions. It simply gives you a better place to start. Some antennas have fixed designs, unusual matching systems or adjustment steps that do not look like a typical movable whip. When the instructions do not authorize an adjustment, leave the antenna alone and diagnose the rest of the system instead.
A quick check before you get back on the road
- Recheck the same channels. Make sure the pattern improved without creating a worse reading at the opposite end.
- Secure the adjustment hardware. A set screw or collar that works loose can change the reading after the first miles of driving.
- Inspect the coax route. Keep it clear of sharp edges, heat, moving hardware and places where it can be crushed.
- Keep the final readings. A photo or note gives you a useful baseline if range changes after a later repair or collision.
For a working truck, an antenna has to survive more than the first test in a parking lot. Clearance, vibration, weather and access for a quick inspection matter. Drivers comparing whole systems can use the CB antenna guide for truckers to think through the mount, whip, cable and route together.
Get help with the whole setup
Custom CB Radios carries CB antennas and mounting gear alongside radios, microphones and accessories, so you can choose parts that belong in the same installation. If you are buying a new antenna, start with the mounting location and clearance, then choose the antenna and hardware that fit the truck.
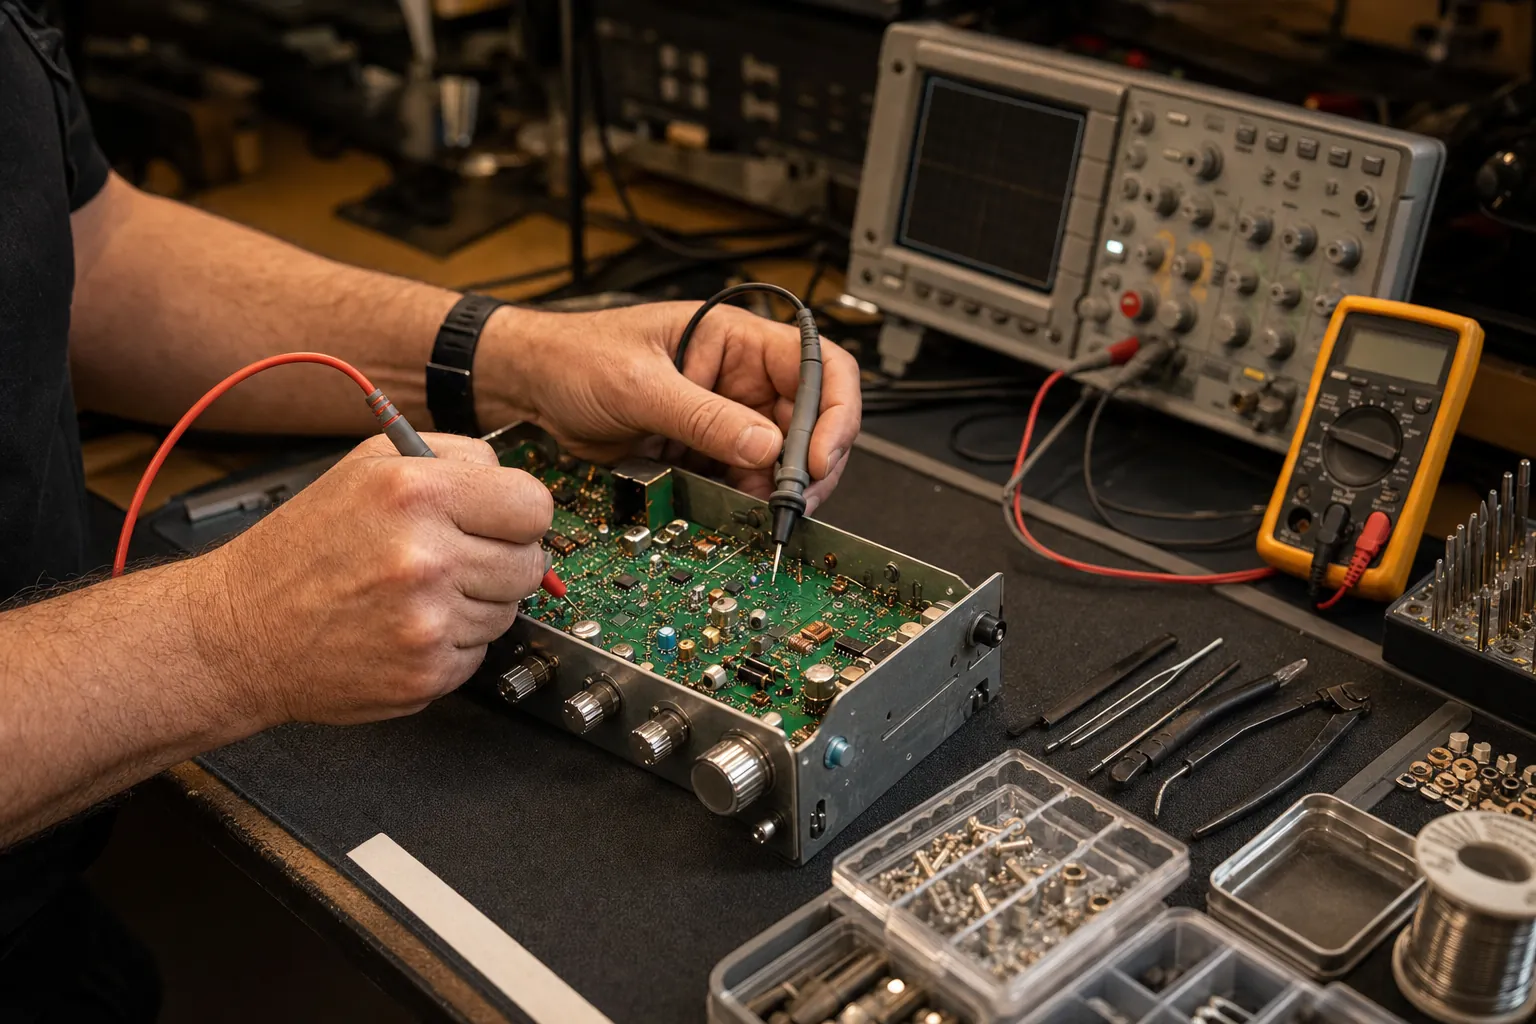
If the readings are unstable, the radio is still weak after a careful antenna check or the mounting path needs a closer diagnosis, use the CB radio repair service. Bring the radio model, antenna style, mount location, cable route and readings from channels 1 and 40. Those details give the shop a much better starting point than replacing equipment blindly.
Need a Bench Check?
Bring the readings, not the guesswork.
Share the radio model, antenna style, mounting location and readings from channels 1 and 40 for a better starting point.
Request a Repair →Frequently asked questions
Why is my SWR higher on channel 1 than channel 40?+
A higher reading on channel 1 usually means the antenna is electrically short for the CB channels you are checking. When the antenna has an approved adjustment method, the direction to test is usually a very small lengthening adjustment after the mount, coax and connectors have been checked.
Should I make my CB antenna longer if SWR is high on channel 1?+
Only lengthen an antenna when its instructions provide a reversible adjustment and the channel readings are stable. Start with the smallest adjustment the maker allows, then measure again on channels 1 and 40. Do not force parts apart or add improvised wire to an antenna that is not designed for it.
What if channel 1 is high but channel 40 is fine?+
Repeat the test under the same conditions first. If the pattern stays consistent, it can point to an electrically short antenna. If the reading changes when cables or connectors are moved, or if both channels remain unexpectedly high, inspect the mount, coax and connections before adjusting antenna length.
Can a bad ground or coax cause SWR higher on channel 1?+
Yes. A poor mounting connection, corroded stud, loose connector, damaged coax or a meter connected incorrectly can create misleading readings. The channel pattern is useful only after the basic installation checks out.
How much SWR is too high for a CB radio?+
Use the limits in the instructions for your particular radio and antenna. A stable reading near the low end is the goal, but there is no single number that replaces the maker’s limits. Keep test transmissions short while you investigate a clearly high or unstable reading.
Keep Reading
Related Posts

Guide
How to Install a CB Radio: A Practical Vehicle Guide
Plan a safe, dependable CB radio installation by choosing the radio location, power route, antenna mount, coax path and final SWR check in the right order.Read the guide →
Guide
Do Truckers Still Use CB Radios? What They’re Good For
CB radios are still useful for nearby, real-time road communication. Learn where they fit alongside a phone, what to expect and how to build a dependable truck setup.Read the guide →
Guide
CB Radio Turns On but Has No Sound? 7 Checks Before Repair
CB radio turns on but no sound? Check the volume, squelch, external speaker, microphone and audio modes before booking a repair.Read the guide →
Guide